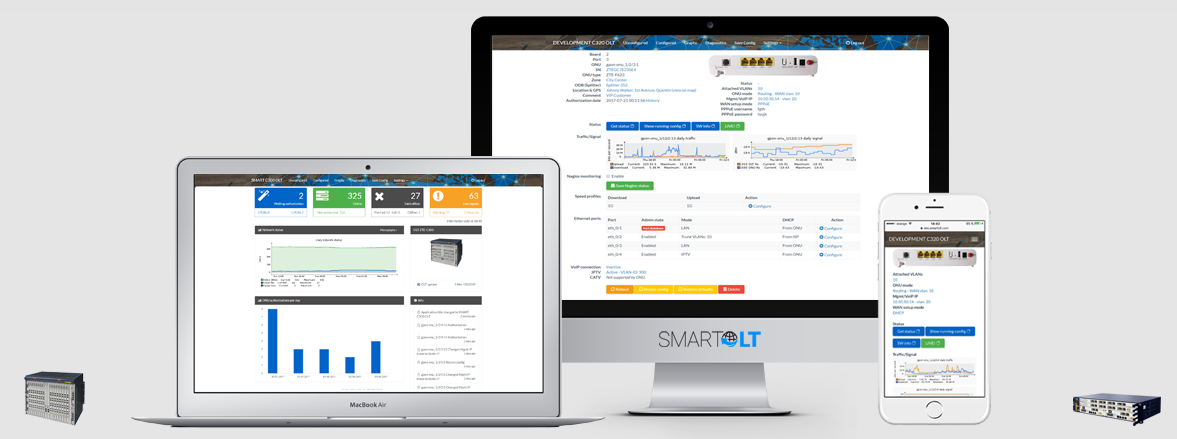
In this post you'll find step by step instructions for initial OLT configuration and for setting up the IP connectivity of the ZTE C300, C320, C350, C220 OLTs. After completing these steps, you'll be ready to connect your OLT to SmartOLT.
For setup instructions of the ZTE C6xx Titan series like C600, C610, C620, C650 or C680 please access this link.
Step one: Connect to the OLT either with Putty telnet using the default IP address 136.1.1.100 or by Serial cable to CL1 or CLI port using the original SERIAL cable with the correct pinout (commonly used values for serial: 9600-8-N-1, 57600-8-N-1 or 115200-8-N-1). Alternatively, if your Mikrotik has a RJ45 CONSOLE port, you can use a LAN cable from this port to the OLT CLI port for a serial connection in a Mikrotik Terminal window.
telnet 136.1.1.100
Trying 136.1.1.100...
Connected to 136.1.1.100.
Escape character is '^]'.
************************************************
Welcome to ZXAN product C320 of ZTE Corporation
************************************************
Username:zte
Password:zte
ZXAN>enable
Password:zxr10
ZXAN#
Step two: Enable plug-and-play detection of the OLT boards and add the chassis type.
# For C320 OLT
set-pnp enable
add-rack rackno 1 racktype C320Rack
add-shelf rackno 1 shelfno 1 shelftype C320_SHELF
# For C300 OLT
conf t
set-pnp enable
add-rack rackno 1 racktype IEC19
add-shelf rackno 1 shelfno 1 shelftype IEC_SHELF
Verify the status of the cards using the command: show card
ZXAN# show card

Rack Shelf Slot CfgType RealType Port    HardVer SoftVer         Status
-------------------------------------------------------------------------------
1    1     2    GTGH    GTGHG    16      120700  V1.2.5P3        INSERVICE
1    1     3    SMXA    SMXA     3       131201  V1.2.5P3        INSERVICE
1    1     4    SMXA    SMXA     3       131201  V1.2.5P3        STANDBY
Step three: Configure a new management IP address on the (out-of-band) mng1 interface:
conf t
interface mng1
ip address [IP] [MASK]
Reconnect to the OLT using the new IP address you assigned.
Add the default gateway and save configuration:
conf t
no ip route 0.0.0.0 0.0.0.0
ip route 0.0.0.0 0.0.0.0 [IP of the GATEWAY]
exit
write
Step four: Create a dedicated username/password. This user/pass will be used between SmartOLT and your OLT. conf t
username smartoltusr password (enter a strong password) max-sessions 16 privilege 15
Step five: Enable telnet service, that is usually factory disabled:
conf t
no ssh server only
At this stage, your OLT is ready to be interconnected with SmartOLT system.
Open your smartolt.com site, go to Settings -- OLTs -- Add OLT.
Fill in the fields displayed, and click the Save button.
# Other settings (If you use SmartOLT, these are configured automatically, no need to configure them manually):
conf t
auto-write enable
auto-write 18:00:00 everyday
mib-compatibility iftable v2
ntp server 20.101.57.9 priority 1 version 4
ntp server 216.239.35.4 priority 2 version 4
ntp enable
# Optional, you can configure an "in-band" IP address on a VLAN interface. This is useful when you want to manage the OLT using the same physical interface that is used for normal traffic of the customers. We do not recommend this scenario because if a loop happens in the ONT, undetected by the ONT/OLT and the uplink port is shutdown by the uplink device as a reaction to the loop, you will lose the IP connectivity with the OLT as well.
conf t
vlan 300
exit
interface vlan300
ip address [IP] [MASK]
